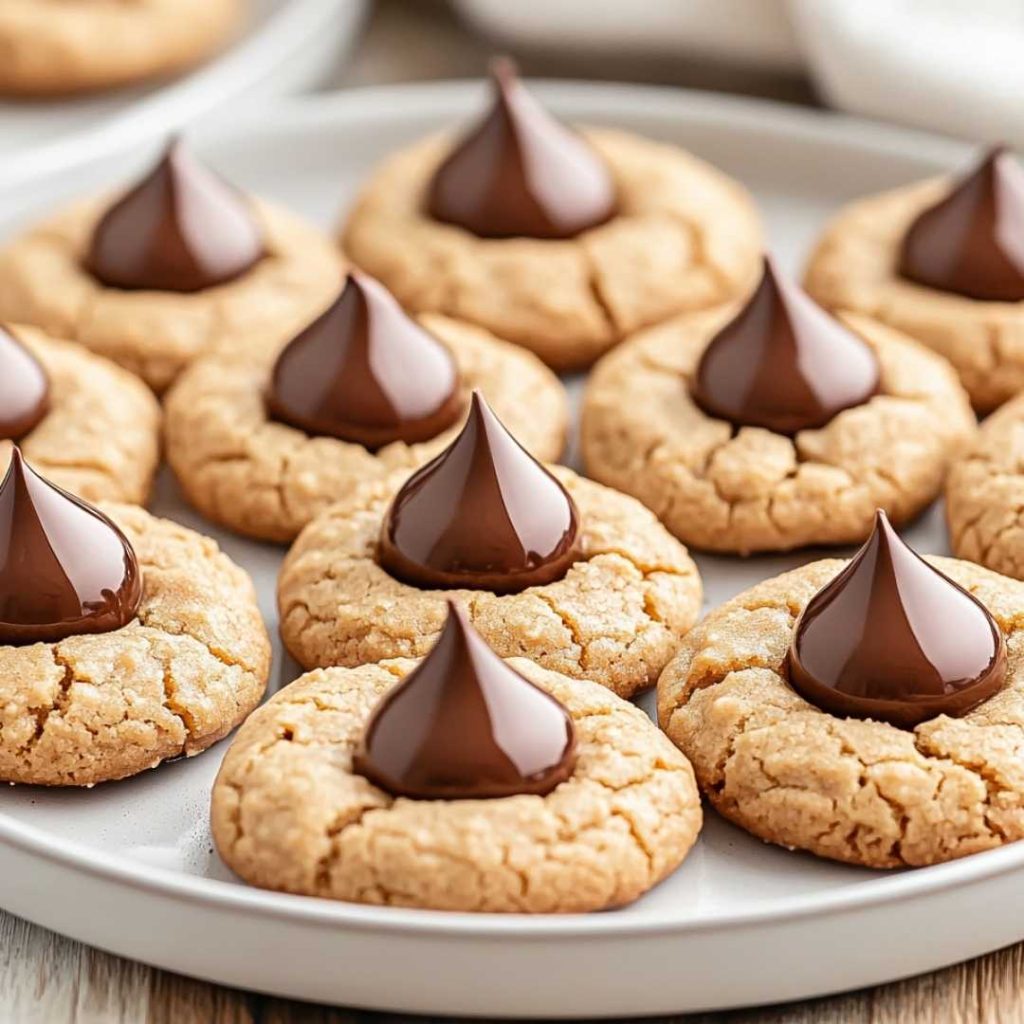
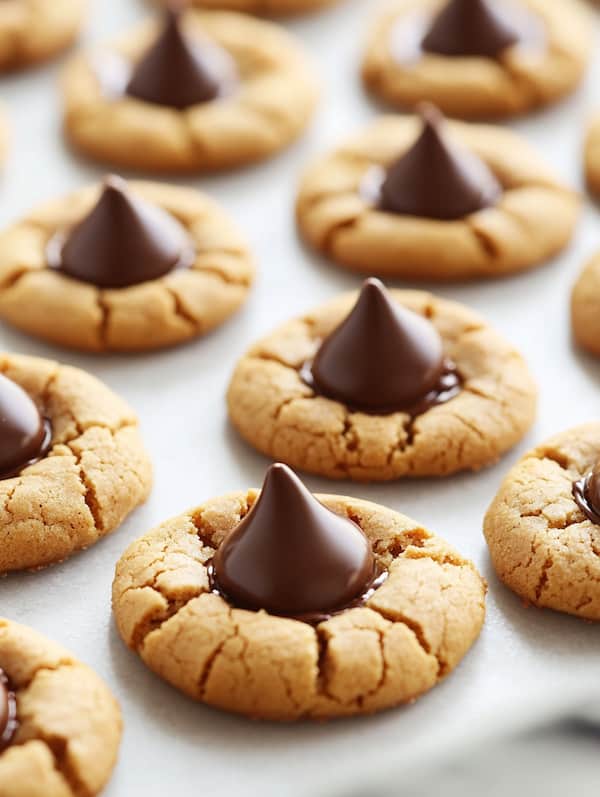
Last Christmas, I was knee-deep in holiday chaos—tinsel in my hair, a toddler “helping” by licking every spoon—when I decided we needed a treat to survive the madness, so I raided the pantry and came up with these Peanut Butter Blossoms.
That first batch, with its peanutty goodness and chocolate kiss crown, turned a meltdown into a sugar-coated truce—now they’re my secret weapon for any day that needs a little love. I’ve had some flat cookies (skipped the chill, rookie move), but now they’re perfection every time.
If you’re craving a sweet, nutty hug in cookie form, let’s bake these up!
Why These Peanut Butter Blossoms Rock
- Soft
- Chewy
- Easy
- Chocolaty
Peanut Butter Blossoms Recipe
Ingredients
| Ingredient | Amount |
|---|---|
| Vanilla extract | 1 teaspoon |
| Creamy peanut butter | 3/4 cup |
| Unsalted butter | 1/2 cup |
| All-purpose flour | 1 1/2 cups |
| Large egg, room temperature | 1 |
| Granulated sugar | 1/2 cup + extra for rolling |
| Hershey’s chocolate kisses, unwrapped | 32 |
| Light brown sugar, packed | 1/2 cup |
| Baking soda | 3/4 teaspoon |
| Salt | 1/3 teaspoon |
Tools You’ll Need
- Baking sheet – Cooks the cookies to golden glory.
- Mixing bowl – Blends the dough without a mess.
- Spatula or spoon – Mixes and scoops everything smooth.
- Measuring cups and spoons – Keeps the ratios spot-on.
- Parchment paper – Stops sticking and saves cleanup time.
Step-by-Step Instructions for Peanut Butter Blossoms
Step 1: Preheat the Oven
Crank your oven to 375°F (190°C) and let it heat up—takes about 10 minutes while you dodge tiny helpers. Line a baking sheet with parchment paper—keeps things tidy.
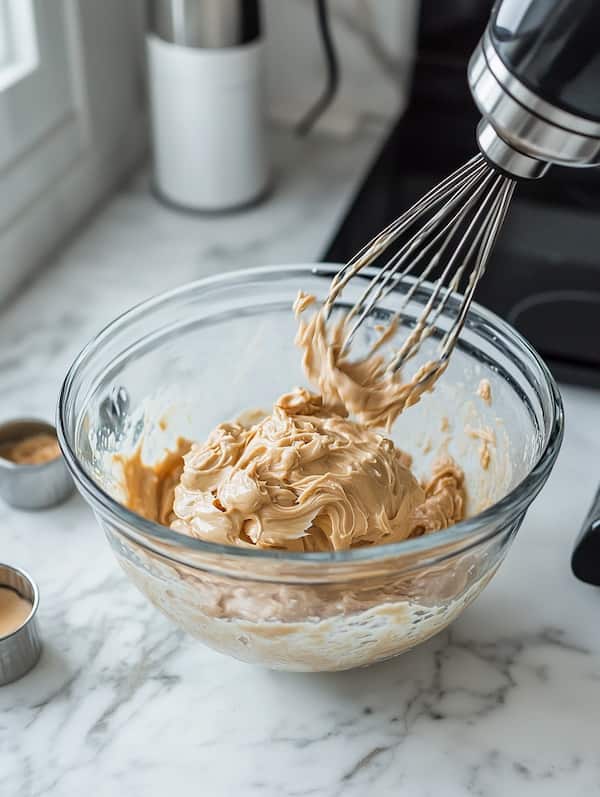
Step 2: Cream the Butters and Sugars
In a mixing bowl, toss in the ½ cup softened butter, ¾ cup creamy peanut butter, ½ cup granulated sugar, and ½ cup packed light brown sugar—beat ‘em with a spoon or mixer ‘til creamy, about 2 minutes. Should look fluffy and smell like peanut butter heaven.
Step 3: Add Egg and Vanilla
Crack in the 1 large egg (room temp—cold makes it clump) and pour in 1 tsp vanilla extract—stir ‘til it’s all smooth and blended. Looks like a sticky dream now—resist licking the spoon (or don’t).
Step 4: Mix the Dry Stuff
In another bowl, whisk the 1½ cups flour, 3/4 tsp baking soda, and 1/3 tsp salt—give it a quick stir so it’s even. No clumps—keeps the cookies consistent.
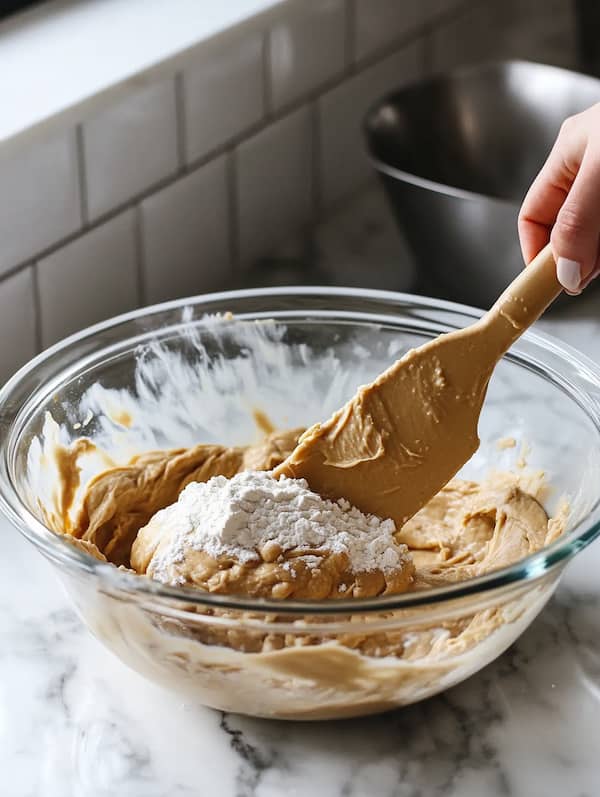
Step 5: Combine Wet and Dry
Dump the dry mix into the peanut butter mess—stir with a spatula ‘til it’s a soft, thick dough, no dry bits left. Don’t overmix—tough cookies are a buzzkill when you’re short on time.
Step 6: Chill the Dough
Cover the bowl with a towel or plastic wrap—pop it in the fridge for 20-30 minutes to firm up. Makes shaping easier and keeps ‘em from spreading into pancakes—trust me, it’s worth the wait.
Step 7: Shape and Roll
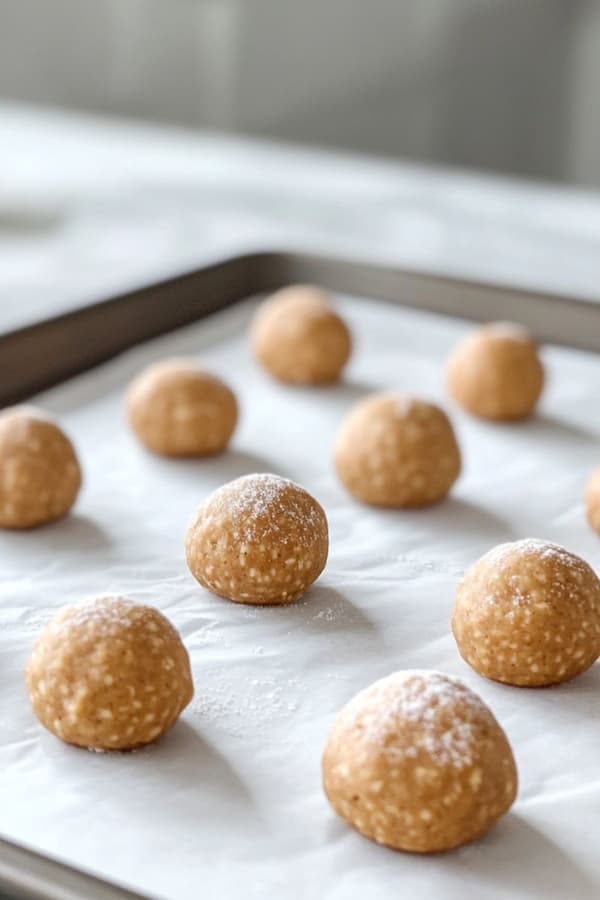
Scoop about 1 tbsp dough per cookie—roll into balls, then roll each in a small bowl of extra granulated sugar ‘til coated. Place ‘em on the parchment-lined sheet, 2 inches apart—should get about 32 little gems.
Step 8: Bake and Top
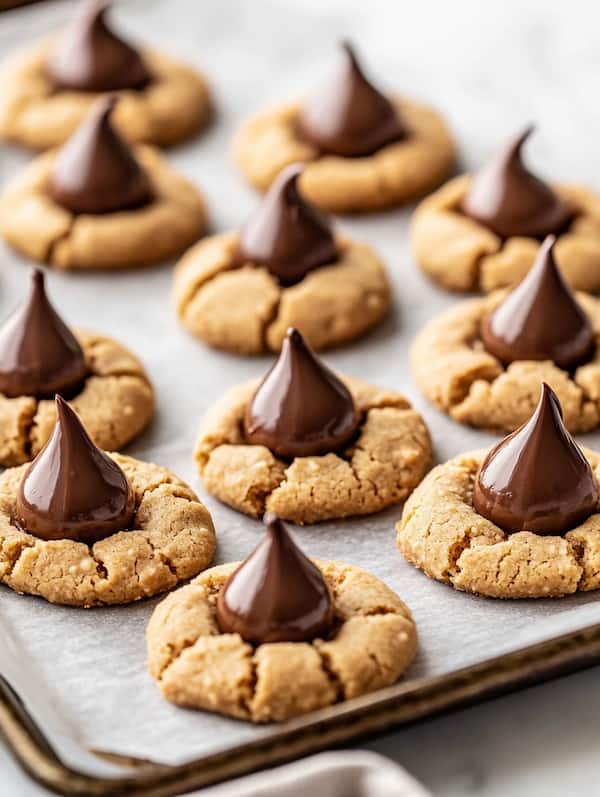
Bake on the middle rack for 10-12 minutes ‘til the edges are set and just golden—pull ‘em out, then press a Hershey’s kiss into the center of each while they’re hot. Let ‘em cool on the sheet for 5 minutes, then move to a rack—enjoy the peanut-chocolate magic!
Storage and Serving
Store in an airtight container at room temp for up to a week—freeze dough balls or baked cookies for up to 2 months. Serve with milk or coffee—perfect for a quick treat or sneaky midnight snack.
Tips for Success
- Use creamy peanut butter—chunky throws off the texture.
- Chill the dough—warm dough flattens fast.
- Press kisses in right after baking—wait too long, and they won’t stick.
- Don’t overbake—soft centers are the goal.
Nutritional Breakdown
| Nutrient | Per Cookie (32 cookies total) |
|---|---|
| Calories | 120 kcal |
| Fat | 7g |
| Protein | 2g |
| Total Carbs | 13g |
| Fiber | 1g |
| Net Carbs | 12g |
Note: Values are approximate and vary by brands.
Pairing Suggestions
- Serve with cold milk for classic vibes.
- Pair with hot cocoa for extra chocolate love.
- Add a side of vanilla ice cream for dessert mode.
- Enjoy with tea for a chill afternoon break.
Common Mistakes to Avoid
- Flat Disks: Skip chilling, and they spread—cool it down.
- Dry Bites: Overmix the flour, and they’re bricks—go easy.
- Loose Kisses: Wait to top, and they fall off—do it hot.
- Burnt Edges: Bake too long, and they’re toast—check at 10.
FAQs
Freezer-friendly?
Totally—freeze dough balls or baked cookies, thaw and bake or eat.
No Hershey’s kisses?
Use chocolate chips—press ‘em in after baking, still good.
Too sweet?
Cut granulated sugar to 1/3 cup next time.
Wrap-Up
There you have it—my Peanut Butter Blossoms, the little lifesavers that turned a holiday frenzy into a sweet victory. They’re nutty, chocolaty, and simple enough to bake while dodging tiny tornadoes. Hope they bring some joy to your kitchen—let me know if you give ‘em a whirl. Now grab that peanut butter and get going—you’ve got this!
Peanut Butter Blossom Cookies
Ingredients
- Vanilla extract 1 teaspoon
- Creamy peanut butter 3/4 cup
- Unsalted butter 1/2 cup
- All-purpose flour 1 1/2 cups
- Large egg, room temperature 1
- Granulated sugar 1/2 cup + extra for rolling
- Hershey’s chocolate kisses, unwrapped 32
- Light brown sugar, packed 1/2 cup
- Baking soda 3/4 teaspoon
- Salt 1/3 teaspoon
Instructions
Step 1: Preheat oven to 375°F (190°C) and line a baking sheet with parchment.
Step 2: Beat butter, peanut butter, granulated sugar, and brown sugar until creamy, about 2 minutes.
Step 3: Mix in egg and vanilla until smooth and fully combined.
Step 4: Whisk flour, baking soda, and salt in a separate bowl until even.
Step 5: Stir dry mix into wet until a soft, thick dough forms—don’t overmix.
Step 6: Cover and chill dough for 20–30 minutes to firm up.
Step 7: Scoop 1 tbsp dough, roll into balls, coat in sugar, and place 2 inches apart on sheet.
Step 8: Bake 10–12 minutes until edges are set, then press a Hershey’s kiss into each. Cool 5 minutes, then transfer to rack.