October hit me like a pumpkin spice freight train last year, and suddenly everyone was asking me to bring “something fall-ish” to every gathering.
The problem? My oven was already occupied with a turkey that seemed determined to take its sweet time.
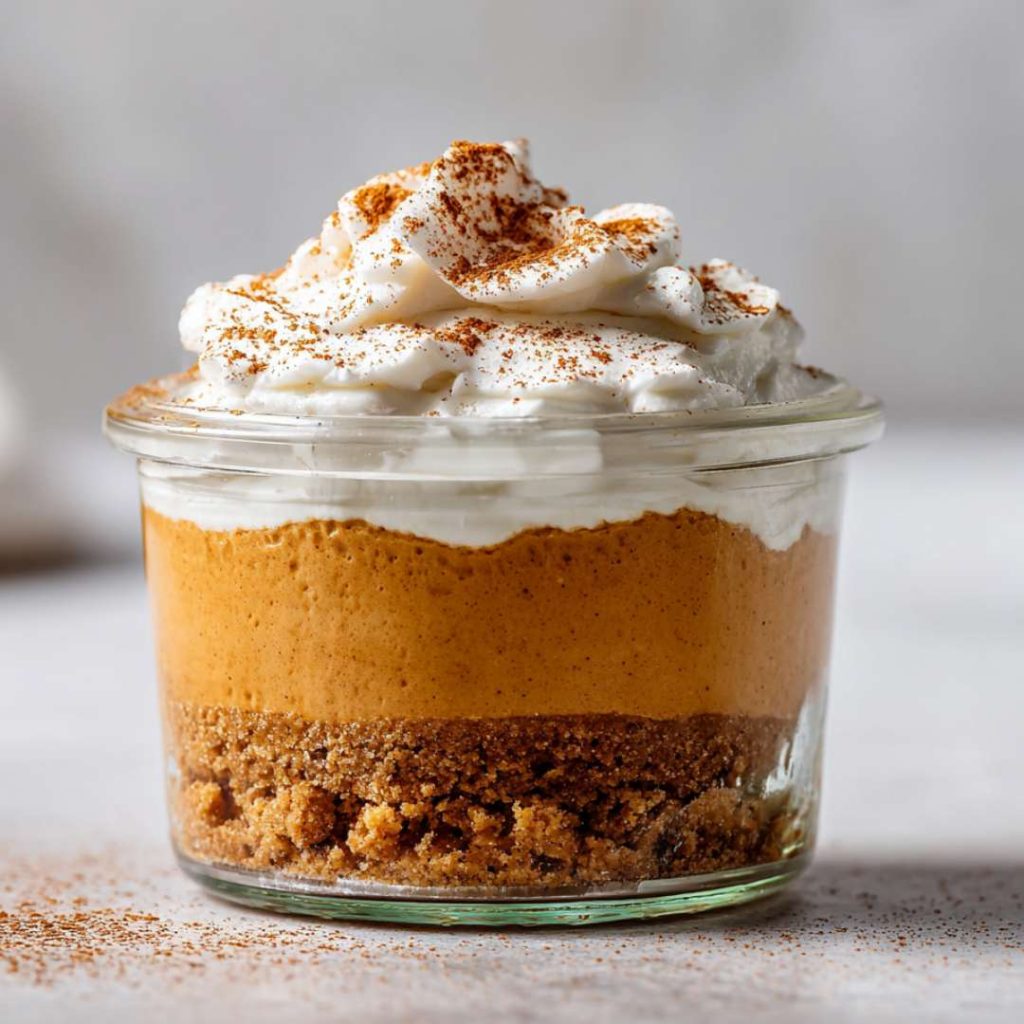
That’s when I invented this no-bake pumpkin cheesecake mousse. Fluffy, spiced perfection that tastes like autumn decided to throw a party in your mouth.
Now it’s my go-to whenever I need to wow a crowd without breaking a sweat (or preheating anything).
Why You’ll Love This Recipe
- No oven required
- Fancy-looking servings
- Easy & Delicious
No-Bake Pumpkin Cheesecake Mousse Recipe
For the Crust
| Ingredient | Amount |
| Graham cracker crumbs | 1 cup, finely crushed |
| Melted butter (unsalted) | 3 tablespoons |
| Light brown sugar | 2 tablespoons |
| Fine sea salt | ¼ teaspoon |
For the Mousse
| Ingredient | Amount |
| Heavy whipping cream | 1¼ cups, cold |
| Cream cheese | 8 oz, softened |
| Pure pumpkin puree | 1 cup (from 15-oz can) |
| Powdered sugar | ⅓ cup |
| Pure vanilla extract | 1 teaspoon |
| Pumpkin pie spice | 1 teaspoon |
| Ground cinnamon | ½ teaspoon |
| Maple syrup | 1 tablespoon |
Step-by-Step Instructions
Step 1: Build Your Foundation
Crush your graham crackers into fine crumbs using a food processor or by placing them in a sealed bag and going to town with a rolling pin. Mix the crumbs with melted butter, brown sugar, and salt until it feels like wet sand. Divide this mixture between 6-8 small glasses or ramekins, pressing down firmly to create a solid base. Pop these in the fridge while you work on the mousse.
Step 2: Whip It Good
In a chilled mixing bowl, pour in that cold heavy cream and start whipping on medium speed. After about 3-4 minutes, you’ll see soft peaks forming—don’t overdo it here or you’ll end up with butter. Transfer the whipped cream to another bowl and set aside about ½ cup for topping later.
Step 3: Create the Creamy Base
In the same mixing bowl (one less dish to wash!), beat the softened cream cheese until it’s completely smooth and fluffy—about 2 minutes should do it. Nobody wants lumpy mousse, so really make sure it’s silky smooth.
Step 4: Add the Fall Magic
To the cream cheese, add the pumpkin puree, powdered sugar, vanilla extract, pumpkin pie spice, cinnamon, and that secret splash of maple syrup. Beat on low speed until everything is completely combined and the mixture is a gorgeous orange color.
Step 5: Fold in the Clouds
Here’s where the magic happens—gently fold the whipped cream into the pumpkin mixture using a spatula. Use gentle swooping motions to keep all that airiness intact. The mixture should be light, fluffy, and absolutely irresistible.
Step 6: Assemble Your Masterpieces
Divide the mousse between your prepared crusts, either spooning it in or using a piping bag if you’re feeling fancy. Top each serving with a dollop of the reserved whipped cream and maybe a sprinkle of cinnamon or a graham cracker crumb for extra pizzazz.
Let’s Get Creative
Texture perfection: Let your cream cheese sit out for about an hour before starting—room temperature cream cheese whips up much smoother than cold.
Spice it up: Add a pinch of nutmeg or cardamom to the mousse for extra warmth, or try chai spice blend instead of pumpkin pie spice for something unexpected.
Make it boozy: A splash of bourbon or rum in the mousse adds sophisticated depth (adults only, obviously).
Different crusts: Try crushed vanilla wafers, pecans mixed with butter and sugar, or even Oreo crumbs for variety.
Garnish game: Top with candied pecans, a drizzle of caramel sauce, or even a small piece of crystallized ginger for restaurant-level presentation.
What’s Inside Each Slice
Per Serving (8 total servings):
| Nutrient | Amount |
| Calories | 245 |
| Total Fat | 18g |
| Saturated Fat | 11g |
| Cholesterol | 55mg |
| Sodium | 180mg |
| Total Carbs | 19g |
| Fiber | 2g |
| Sugars | 16g |
| Protein | 4g |
Serving Ideas
- Elegant dinner party: Serve in wine glasses with a cinnamon stick garnish and watch your guests swoon
- Casual gathering: Layer in mason jars for a rustic, Instagram-worthy presentation
- Holiday buffet: Make mini versions in shot glasses for bite-sized indulgence
- Cozy night in: Serve in your favorite mug with a cup of spiced cider on the side
- Brunch star: Top with a drizzle of maple syrup and serve alongside coffee for a decadent morning treat
- Thanksgiving finale: Individual servings mean no fighting over slice sizes and everyone gets the perfect portion
Make-Ahead Magic
This mousse actually gets better with time—the flavors meld beautifully overnight in the fridge. You can make the whole thing up to 2 days ahead, just save the final whipped cream topping until serving time.
The mousse will keep its fluffy texture for up to 3 days covered in the refrigerator.
For parties, I like to make these the morning of, which gives me one less thing to worry about when guests arrive. Just pull them out of the fridge about 10 minutes before serving for the perfect temperature.
Final Thoughts
There’s something magical about creating a dessert that captures the essence of fall without any of the fuss. This no-bake pumpkin cheesecake mousse delivers all the cozy, spiced flavors you crave in a format that’s impossibly light and elegant.
It’s proof that the best seasonal treats don’t always require hours in the kitchen—sometimes they just require a little creativity and the right combination of flavors.
Make a batch this weekend, and you’ll have the perfect answer to every fall gathering invitation. Your secret weapon against pumpkin spice fatigue? This mousse that actually tastes like the season, not just the marketing campaign.