I’ll be honest, I used to think homemade granola bars were just a way to feel virtuous while eating something that tasted like cardboard held together with wishful thinking.
Then my sister made a batch during one of our weekend cooking sessions, and I practically inhaled three bars before realizing what happened.
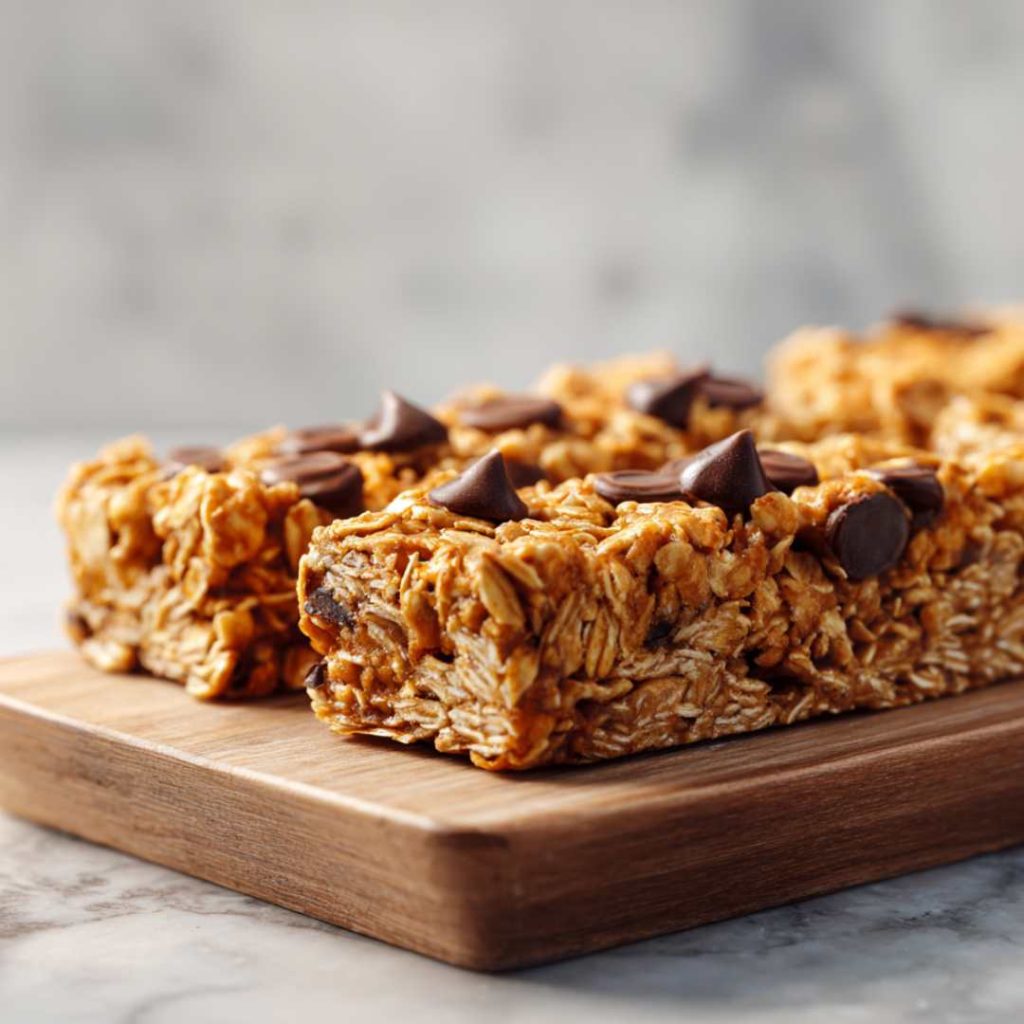
These aren’t your typical “healthy but sad” snack bars. They’re chewy, satisfying, and have that perfect balance of nutty richness and gentle sweetness that makes you forget they’re actually good for you.
Why You’ll Love This Recipe
- No oven required
- 15-minute prep time
- Kid-approved taste
No-Bake Granola Bar Recipe
| Ingredient | Amount |
| Old-fashioned rolled oats | 2½ cups |
| Mini dark chocolate chips | ⅓ cup |
| Sunflower seeds (or chopped almonds) | 3 tablespoons |
| Creamy natural peanut butter | 1 cup |
| Pure maple syrup | ⅔ cup |
| Pure vanilla extract | 1 teaspoon |
| Fine sea salt | ½ teaspoon (generous) |
| Chia seeds (optional) | 1 tablespoon |
Step-by-Step Instructions
Step 1: Prep Your Pan
Line an 8×8 inch baking pan with parchment paper, leaving some overhang on two sides. This will be your best friend when it’s time to lift the bars out cleanly.
Step 2: Create the Base Mixture
In a large mixing bowl, whisk together the peanut butter, maple syrup, vanilla extract, and sea salt until completely smooth. If your peanut butter is thick, warm it slightly in the microwave for 20-30 seconds first—this makes mixing so much easier.
Step 3: Add the Dry Ingredients
Stir in the oats, chocolate chips, sunflower seeds, and chia seeds (if adding). At first, it might look like there’s not enough liquid to hold everything together, but keep stirring. The mixture will come together beautifully as the oats absorb the peanut butter mixture.
Step 4: Press Into Pan
Transfer the mixture to your prepared pan. Here’s the secret: use a piece of parchment paper on top and press down firmly with the bottom of a measuring cup or your clean hands. Really compress it—this is what keeps your bars from falling apart later.
Step 5: Chill and Set
Refrigerate for at least 2 hours, or until completely firm. I know waiting is hard, but trust the process. Properly chilled bars cut cleanly and hold together perfectly.
Step 6: Cut and Serve
Use the parchment paper overhang to lift the entire block out of the pan. Cut into 12 bars using a sharp knife, wiping the blade clean between cuts for neat edges.
Tips, Variations & Customizations
Seasonal twist: Add ½ teaspoon cinnamon and 2 tablespoons dried cranberries for fall vibes, or try dried blueberries and lemon zest for summer brightness.
Chocolate lovers: Use crunchy peanut butter and add an extra 2 tablespoons of chocolate chips. You can also drizzle melted dark chocolate on top once they’re set.
Tropical version: Replace chocolate chips with unsweetened coconut flakes and the sunflower seeds with chopped macadamia nuts.
Extra protein boost: Stir in 2 tablespoons of your favorite vanilla protein powder (reduce maple syrup by 1 tablespoon to compensate for the added dry ingredients).
Ingredient Swaps & Substitutions
- Nut-free option: Replace peanut butter with sunflower seed butter or soy butter. Make sure your chocolate chips are also nut-free if needed.
- Lower sugar: Use sugar-free maple syrup or reduce maple syrup to ½ cup and add 2-3 tablespoons of unsweetened applesauce for moisture.
- Different nut butters: Natural peanut butter, cashew butter, or even tahini work beautifully. Just stick with the natural, no-sugar-added varieties.
- Gluten-free: Make sure your oats are certified gluten-free. Most regular oats are naturally gluten-free but can be cross-contaminated during processing.
- Egg-free binding: If you don’t have chia seeds, ground flaxseed works similarly, or you can skip it entirely—the bars will still hold together.
Storage & Make-Ahead Guide
Store these bars in an airtight container in the refrigerator for up to 1 week. They actually taste better after the first day, once all the flavors have melded together.
Freezing: Wrap individual bars in parchment paper, then store in a freezer-safe container for up to 3 months. Let them thaw at room temperature for 10-15 minutes before eating, or enjoy them slightly frozen for a firmer texture.
Best containers: Glass containers with tight-fitting lids work best. Avoid plastic containers that might absorb the peanut butter oils over time.
Make-ahead tip: These are perfect for Sunday meal prep. Make a batch, cut into bars, and you’ve got grab-and-go snacks for the entire week.
Nutritional Breakdown
| Nutrient | Per Bar (Makes 12 bars) |
| Calories | 238 |
| Protein | 6g |
| Carbohydrates | 26g |
| Fiber | 4g |
| Healthy Fats | 13g |
| Sugar | 12g |
| Omega-3s | 200mg |
Serving Suggestions
- Morning fuel: Pair with Greek yogurt and fresh berries for a complete breakfast
- Post-workout snack: The combination of carbs and protein makes these perfect for recovery
- Trail mix upgrade: Crumble over a smoothie bowl or oatmeal for extra crunch
- Lunchbox winner: Cut into smaller squares for kid-friendly portions
- Coffee companion: Enjoy with your afternoon coffee as a not-too-sweet pick-me-up
- Dessert mode: Warm slightly and serve with a scoop of vanilla ice cream
Frequently Asked Questions
Why are my bars too soft or falling apart?
Make sure you’re pressing the mixture firmly into the pan and giving it enough chilling time. Also, check that your peanut butter doesn’t have added oils, which can make the mixture too loose.
Can I use quick-cooking oats instead?
Old-fashioned oats give the best texture, but quick oats will work in a pinch. The bars might be slightly less chewy and more dense.
My mixture seems too dry—what should I do?
Add an extra tablespoon of maple syrup or warm your peanut butter slightly before mixing. Sometimes natural peanut butter can be thicker than expected.
Are these actually healthy?
They’re made with whole food ingredients and have no refined sugar, plus they’re packed with healthy fats, fiber, and plant protein. Much better than most store-bought granola bars!
Conclusion
These no-bake granola bars prove that homemade doesn’t have to mean complicated or time-consuming. With just eight simple ingredients and no baking required, you can have a batch of genuinely delicious bars ready faster than you can drive to the store to buy the overpriced, over-processed alternatives.
The best part? You know exactly what’s in them, and you can tweak the recipe to match your family’s preferences. Make a batch this weekend, and I guarantee you’ll be planning your next batch before the first one is gone. Sometimes the simplest recipes really are the most satisfying.