It’s Tuesday afternoon, you just remembered you promised to bring dessert to tomorrow’s potluck, and your oven is currently occupied by a casserole that’s nowhere near done.
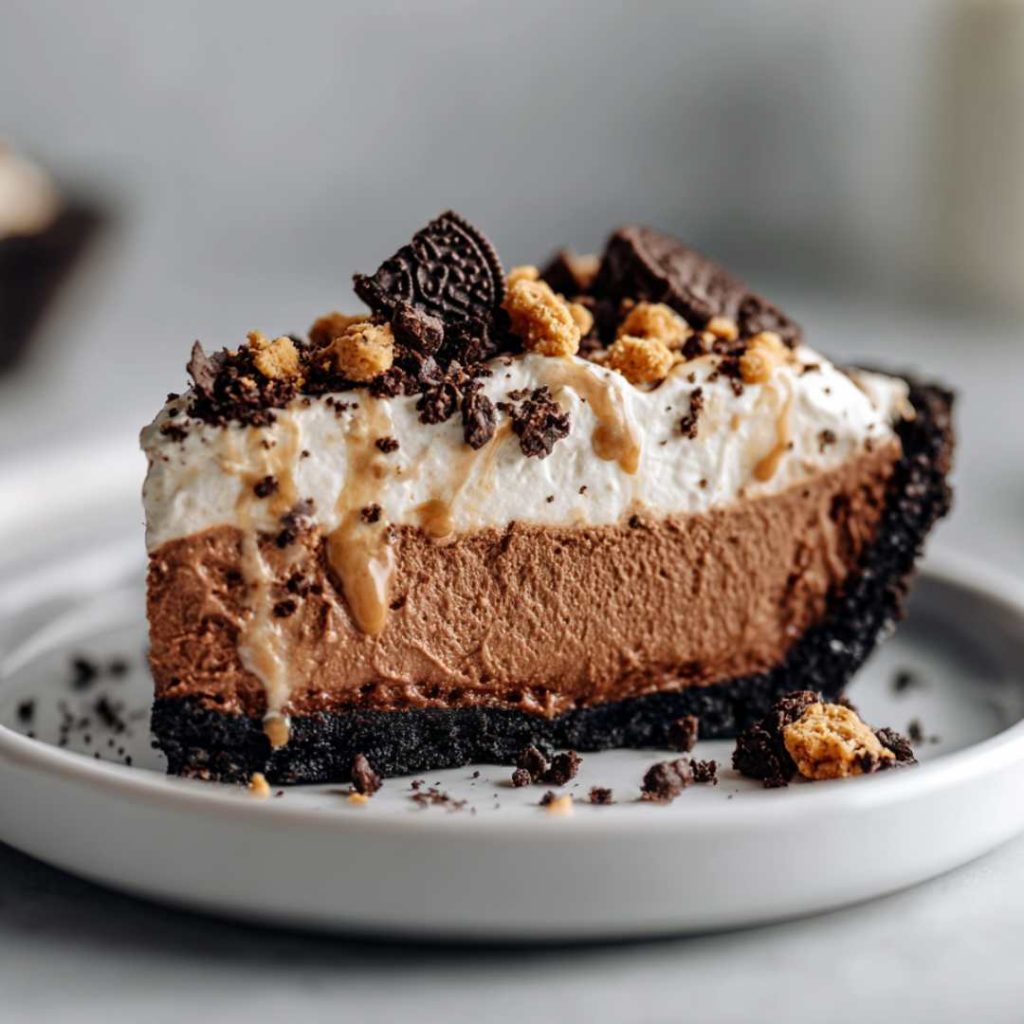
This no-bake chocolate peanut butter pie is the dessert equivalent of a superhero swooping in to save the day.
I’ve made this beauty more times than I can count, and it never fails to make people think I spent hours in the kitchen when really, I was binge-watching Netflix while it chilled in the fridge.
Why You’ll Love This Recipe
- No-bake
- Quick prep
- Pantry staples
- Restaurant taste
No-Bake Chocolate Peanut Butter Pie Recipe
| Ingredient | Amount |
| Instant chocolate pudding mix | 1 package (3.4 oz) |
| Whole milk | 1 cup |
| Creamy peanut butter | ⅔ cup |
| Whipped topping (like Cool Whip) | 8 oz container |
| Oreo crust | 1 (9-inch) |
| Mini peanut butter cups | 6-8 pieces |
| Vanilla extract | ½ teaspoon |
Ingredient Notes:
- Whole milk: The fat content makes it creamier than nonfat, but 2% works too
- Peanut butter: Natural or regular both work, but make sure it’s room temperature for easy mixing
- Cookie crust: Graham cracker crust works too if you’re not feeling the chocolate-on-chocolate vibes
Step-by-Step Instructions
Step 1: Make the Magic Happen
In a medium bowl, whisk together the pudding mix and milk until it starts to thicken—about 2 minutes of good whisking should do it. Don’t worry if your arm gets a little workout; that’s just the price of not turning on the oven.
Step 2: Add the Star Player
Stir in the peanut butter and vanilla extract until the mixture is completely smooth. If your peanut butter was a little stubborn and cold, just keep stirring—it’ll come together. The mixture should be thick but spreadable, like the world’s most delicious frosting.
Step 3: Fold in the Clouds
Gently fold in half of the whipped topping (about 4 oz) using a spatula. I like to fold rather than stir here because it keeps everything light and fluffy. Think gentle swooping motions, not aggressive mixing.
Step 4: Fill and Chill
Spread the mixture evenly into your prepared crust. Cover with plastic wrap and let it chill in the fridge for at least 4 hours, though overnight is even better. This is the hardest part—waiting while your kitchen smells like a candy shop.
Step 5: The Grand Finale
Before serving, dollop or pipe the remaining whipped topping on top. Chop those mini peanut butter cups and sprinkle them over the whole thing like edible confetti. Stand back and accept the compliments that are about to come your way.
Here’s How To Customize
Make it fancy: Drizzle melted chocolate or caramel sauce over the top before adding the peanut butter cups. Because sometimes you need to show off a little.
Texture lovers: Fold in some chopped roasted peanuts or mini chocolate chips to the filling for extra crunch.
Dietary swaps: Use sugar-free pudding mix and light whipped topping to lighten things up, or try almond butter instead of peanut butter for a different nutty twist.
Seasonal spin: Add a pinch of cinnamon and some crushed gingersnaps on top for fall vibes, or swap regular peanut butter cups for the seasonal varieties.
The Healthy Scoop
Per Serving (8 total servings):
| Nutrient | Amount |
| Calories | 420 |
| Total Fat | 24g |
| Saturated Fat | 8g |
| Cholesterol | 5mg |
| Sodium | 380mg |
| Total Carbs | 48g |
| Fiber | 2g |
| Sugars | 35g |
| Protein | 8g |
Serving It Right
- Classic slice: Serve chilled with a tall glass of cold milk—it’s like being a kid again, but with better taste
- Coffee shop style: Pair with a hot cup of coffee or espresso for the ultimate afternoon treat
- Party perfect: Cut into small squares and serve as bite-sized desserts for larger gatherings
- Ice cream parlor: Add a scoop of vanilla ice cream on the side and pretend you’re at a fancy diner
Make It Last (If You Can)
This pie will keep covered in the fridge for up to 4 days, though I’ve never had one last that long. The filling stays perfectly creamy, and the crust holds up beautifully. If you’re planning ahead for a party, you can make this up to 2 days in advance—just wait to add the final whipped topping and peanut butter cup garnish until right before serving.
The Sweet Finish
There’s something deeply satisfying about creating a dessert that looks like you spent all day baking when you actually spent more time deciding what to watch on Netflix.
This no-bake chocolate peanut butter pie is proof that the best things in life don’t always require turning on the oven.
Make one tonight, and tomorrow-you will thank yourself when you’re basking in the glory of compliments and empty plates. Just don’t tell anyone how easy it was—that can be our little secret.