On a cozy afternoon when dessert cravings hit but health goals are calling, a stash of Greek yogurt and dark chocolate chips can spark some kitchen magic.
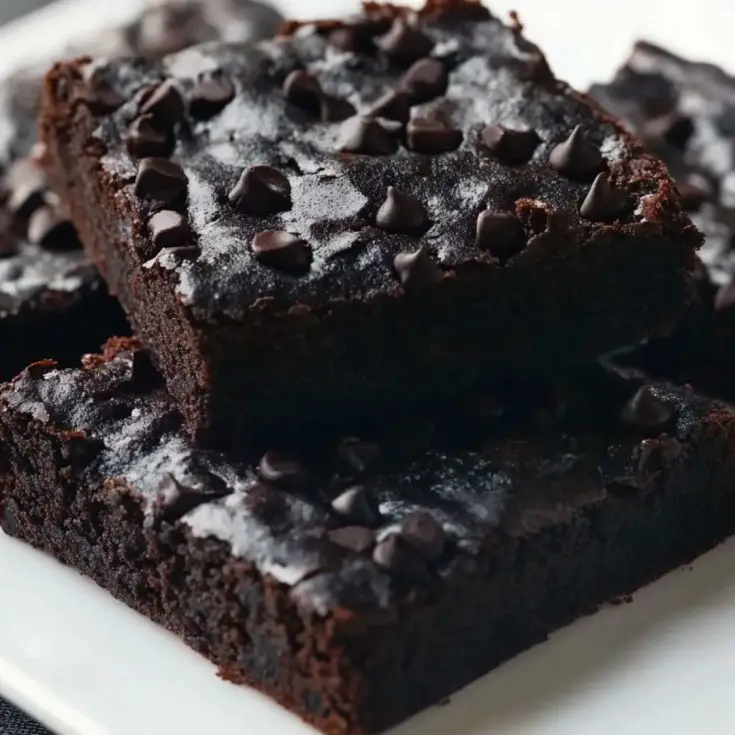
These Protein Brownies with Greek Yogurt deliver a high-protein and low-cal treat that fuels the body and soul.
Ready to bake a dessert that’s as wholesome as it is delicious? Let’s get started!
Why You Should Make These Brownies
- Fudgy
- Protein-packed
- Low-cal
- Chocolatey
Protein Brownies with Greek Yogurt
For these delicious, guilt-free brownies, you’ll need the following ingredients:
Ingredients
| Ingredient | Amount |
|---|---|
| Oat flour (or all-purpose) | 3/4 cup |
| Cocoa powder, unsweetened | 1/2 cup |
| Baking powder | 1/2 tsp |
| Salt | 1/4 tsp |
| Greek yogurt | 1 cup |
| Almond milk | 1/2 cup |
| Sweetener of choice (Monk fruit preferred) | 1/2 cup |
| Dark chocolate chips | 3.5 ounces |
Optional Add-Ons
- 1 tbsp chopped walnuts – Mixes in for a nutty crunch.
- 1/4 tsp espresso powder – Deepens chocolate flavor subtly.
- 1/2 tsp cinnamon – Adds a warm, cozy twist.
Tools You’ll Need
- 8×8-inch baking dish – Bakes brownies to fudgy perfection.
- Parchment paper – Ensures easy removal and cleanup.
- Large mixing bowl – Combines ingredients smoothly.
- Microwave-safe bowl – Melts chocolate chips evenly.
- Spatula – Folds and spreads batter neatly.
Step-by-Step Instructions

Step 1: Preheat and Prep
Set the oven to 350°F (175°C) to warm up—takes about 10 minutes. Line an 8×8-inch baking dish with parchment paper, leaving overhang for easy lifting—grease lightly.
Step 2: Mix Dry Ingredients
In a large mixing bowl, whisk 3/4 cup oat flour, 1/2 cup cocoa powder, 1/2 tsp baking powder, and 1/4 tsp salt until no clumps remain. Sets the foundation—smells chocolatey already.
Step 3: Add Wet Ingredients
Add 1 cup Greek yogurt, 1/2 cup almond milk, and 1/2 cup sweetener (like Monk fruit) to the dry mix—stir gently with a spatula until just combined. Avoid overmixing to keep it fudgy.
Step 4: Check Batter Consistency
The batter should be thick but pourable—if it’s too dense, add a splash (1-2 tsp) of almond milk and stir lightly. Should look smooth and rich, not lumpy.
Step 5: Melt Chocolate Chips
In a microwave-safe bowl, melt 3.5 ounces dark chocolate chips—microwave in 20-second bursts, stirring each time, until smooth. Add 1/2 tsp coconut oil if it’s too thick.
Step 6: Fold in Chocolate
Pour the melted chocolate into the batter—fold gently with the spatula until fully blended, creating a glossy, chocolatey mix. Don’t overmix—keeps the texture right.
Step 7: Pour and Smooth
Transfer the batter to the lined baking dish—spread evenly with the spatula, smoothing the top for a neat look. Add extra chocolate chips on top if you’re feeling indulgent.
Step 8: Bake and Cool
Bake for 30-35 minutes until the edges are set and a toothpick shows a few moist crumbs. Cool in the pan for 20 minutes, then lift out and cool fully before slicing.
Storage and Serving
Store in an airtight container in the fridge for up to 5 days—freeze for up to 2 months, thawing overnight in the fridge. Serve at room temp or slightly warmed for a fudgy treat.
Substitutes and Variations
- Flour Swap – Use almond flour for even lower carbs.
- Topping Boost – Sprinkle with sea salt or swirl in 1 tbsp peanut butter.
Nutritional Breakdown
| Nutrient | Per Brownie (16 brownies total) |
|---|---|
| Calories | 120 kcal |
| Fat | 6g |
| Protein | 5g |
| Total Carbs | 10g |
| Fiber | 2g |
| Net Carbs | 8g |
Note: Values are approximate and vary by brands.
Pairing Suggestions
- Serve with a protein smoothie for a post-workout treat.
- Pair with black coffee for a bold, balancing sip.
- Add fresh blueberries for a tart, juicy contrast.
Common Mistakes to Avoid
- Using cold Greek yogurt and ending with a lumpy batter – Cold yogurt doesn’t blend smoothly, leaving grainy pockets in the batter; a chunky mix was a bummer—let yogurt sit at room temp for 20 minutes.
- Overbaking and drying out the brownies – Baking past 35 minutes turns moist brownies into dry squares; a crumbly batch taught patience—check at 30 minutes for moist crumbs.
- Skipping parchment and struggling to remove brownies – Without parchment, brownies stick to the pan, making removal messy; a stuck pan was frustrating—always line with overhang.
FAQs
Can I use regular flour?
Yes, all-purpose works but increases carbs.
No almond milk?
Use regular milk—same amount.
Can I skip chocolate chips?
Yes, but reduce sweetener by 1 tbsp to balance.
How do I know they’re done?
Toothpick should have moist crumbs, not wet batter.
In Conclusion
When dessert cravings meet health goals, these high-protein, low-calorie brownies with Greek yogurt swoop in with fudgy, guilt-free perfection. Bake a batch to satisfy that sweet tooth, and swing back with a comment to share your experience—can’t wait to hear how they turn out!
Low-Calorie Protein Brownies with Greek Yogurt
Ingredients
- Oat flour (or all-purpose) 3/4 cup
- Cocoa powder, unsweetened 1/2 cup
- Baking powder 1/2 tsp
- Salt 1/4 tsp
- Greek yogurt 1 cup
- Almond milk 1/2 cup
- Sweetener of choice (Monk fruit preferred) 1/2 cup
- Dark chocolate chips 3.5 ounces
Instructions
Step 1: Preheat oven to 350°F (175°C). Line and lightly grease an 8×8-inch baking dish with parchment.
Step 2: Whisk oat flour, cocoa powder, baking powder, and salt until no clumps remain.
Step 3: Add Greek yogurt, almond milk, and sweetener; stir gently until just combined.
Step 4: Check batter—it should be thick but pourable; add a splash of milk if needed.
Step 5: Melt dark chocolate chips in 20-sec bursts, stirring until smooth; add coconut oil if too thick.
Step 6: Fold melted chocolate into batter until glossy and fully combined.
Step 7: Pour into dish, spread evenly, and top with extra chocolate chips if desired.
Step 8: Bake 30–35 minutes until edges set and toothpick has moist crumbs. Cool 20 minutes in pan, then lift out and cool fully before slicing.
Can you use gluten free flour, like King Arthur to make these brownies?