Last summer, I was standing in the ice cream aisle, staring at a pint of cookies and cream that cost more than my morning coffee, when it hit me: why am I paying premium prices for something I can make at home that tastes infinitely better?
That weekend, I dusted off my ice cream maker and created this creamy, chunky masterpiece. Now my freezer is never without a batch, and my neighbors have started dropping by with suspicious frequency around dessert time.
Why You’ll Love This Ice Cream
- Rich and creamy
- Simple ingredients
- Cookie chunks
- Super Easy
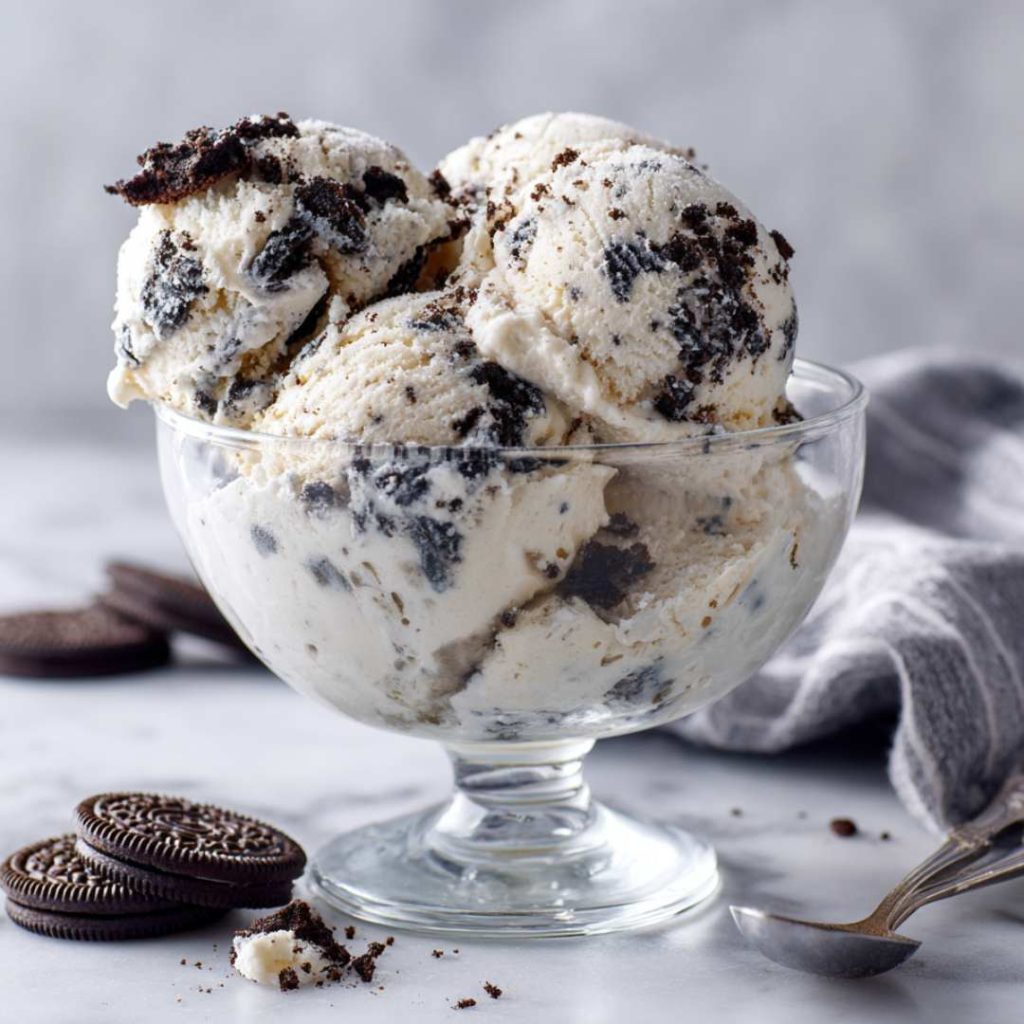
Cookies and Cream Ice Cream Recipe
| Ingredient | Amount |
| Heavy cream | 2 cups, well-chilled |
| Chocolate sandwich cookies | 1½ cups, roughly crushed |
| Whole milk | ¾ cup, chilled |
| Pure vanilla extract | 1½ tablespoons |
| Granulated sugar | ⅔ cup |
| Pinch of sea salt | ⅛ teaspoon |
Making It Step-by-Step
Step 1: Create Your Base
In a large mixing bowl, whisk together the milk and sugar until every granule disappears—about 2-3 minutes of whisking should do it. The mixture should look completely smooth with no gritty texture when you run your finger through it.
Step 2: Build the Creaminess
Pour in the chilled heavy cream, vanilla extract, and that pinch of sea salt. Whisk everything together until it’s beautifully combined. The mixture should be pale, creamy, and smell like vanilla heaven. Pop this into the fridge for at least an hour—this chilling step is crucial for the best texture.
Step 3: Prep Your Cookie Magic
While your base chills, roughly crush your cookies. I like to put them in a sealed bag and give them a few good whacks with a rolling pin. You want chunky pieces, not cookie dust—think bite-sized nuggets that’ll give you that satisfying crunch.
Step 4: Churn Time
Pour your chilled mixture into your ice cream maker and let it work its magic according to the manufacturer’s directions. After about 15-18 minutes, when it’s looking thick and creamy, slowly add those cookie chunks while the machine is still running.
Step 5: The Final Countdown
Let it churn for another 8-10 minutes until the ice cream holds its shape and the cookies are evenly distributed. Don’t worry if it looks soft—that’s exactly what you want at this stage.
Step 6: Set and Forget
Transfer the ice cream to a freezer-safe container with a tight-fitting lid. Press a piece of parchment paper directly onto the surface to prevent ice crystals, then freeze for at least 3-4 hours until it’s perfectly scoopable.
Creative Twists
Texture perfect: For extra-smooth ice cream, strain your milk mixture before chilling to catch any undissolved sugar crystals.
Cookie adventures: Try different sandwich cookies like chocolate peanut butter, mint, or even birthday cake flavored ones. Each brings its own personality to the party.
Make it fancy: Fold in some mini chocolate chips or a ribbon of hot fudge during the last few minutes of churning for an over-the-top experience.
Storage secret: Store with plastic wrap pressed directly against the surface, then cover with the lid. This prevents those annoying ice crystals that can ruin the texture.
No ice cream maker?: Pour the mixture into a shallow dish and freeze, stirring vigorously every 30 minutes for the first 3 hours. Add cookies during the second stirring.
Nutritional Check
Per Serving (8 total servings):
| Nutrient | Amount |
| Calories | 285 |
| Total Fat | 18g |
| Saturated Fat | 11g |
| Cholesterol | 65mg |
| Sodium | 95mg |
| Total Carbs | 28g |
| Fiber | 1g |
| Sugars | 25g |
| Protein | 4g |
How To Serve It Up
- Classic cone: Pile high in waffle cones and top with whipped cream and a cherry—go full ice cream parlor style
- Warm contrast: Serve alongside warm brownies or chocolate chip cookies for the ultimate hot-and-cold dessert experience
- Milkshake magic: Blend with a splash of milk for the creamiest cookies and cream milkshake you’ve ever tasted
- Sandwich star: Use it to make ice cream sandwiches between chocolate chip cookies or graham crackers
- Fancy sundae: Drizzle with chocolate sauce, add some crushed cookies on top, and finish with a dollop of whipped cream
- Coffee companion: A small scoop alongside your afternoon coffee turns any day into a celebration
Storage and Make-Ahead Magic
This homemade ice cream keeps beautifully in the freezer for up to 2 weeks, though honestly, it rarely lasts that long in my house.
If it gets too hard after a few days, just let it sit at room temperature for 5-10 minutes before scooping. The texture stays incredibly creamy thanks to all that good fat content from the heavy cream.
For parties, you can make this up to a week ahead—just remember that homemade ice cream doesn’t have all those stabilizers that commercial versions do, so it’s best enjoyed within the first week for optimal texture.
The Sweet Victory
There’s something deeply satisfying about making ice cream from scratch, especially when it turns out to be ridiculously good. Every spoonful is packed with cookie chunks, and the vanilla base is so much more flavorful than anything you’ll find in the store.
Plus, you get to control exactly how many cookie pieces go in—and let’s be honest, that’s always going to be more than the store-bought version gives you.
Make a batch this weekend, and I guarantee you’ll be the hero of every summer gathering from now on. Your ice cream maker is about to become your new best friend.