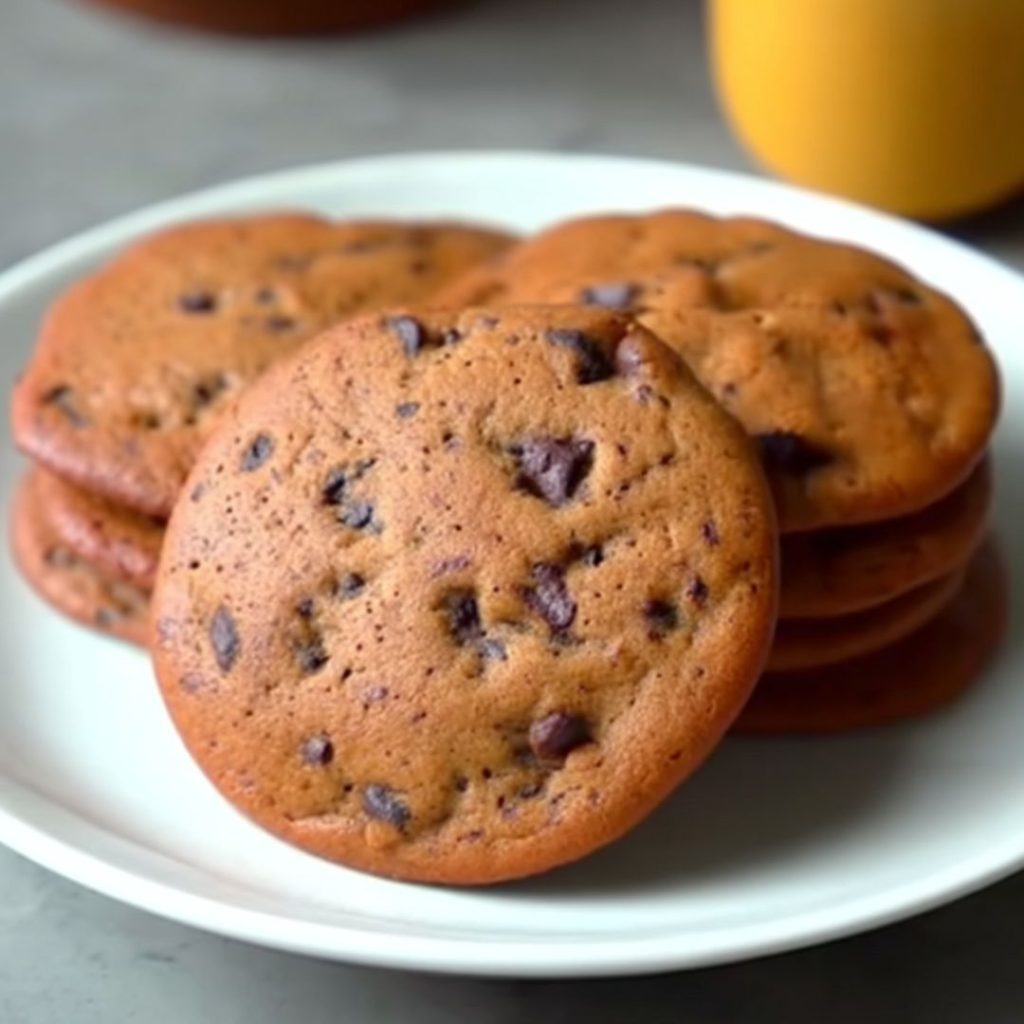
There’s nothing quite like biting into a warm, soft, and chewy brown butter chocolate chip cookie fresh from the oven. The moment your teeth break through the delicately crisp exterior to reach the tender, melt-in-your-mouth center, you know you’ve found cookie perfection.
The rich, nutty flavor of carefully browned butter elevates this classic treat to a truly gourmet level that will impress even the most discerning cookie connoisseurs.
When paired with the perfect balance of bittersweet dark chocolate and creamy milk chocolate chunks, these cookies offer a luxurious twist on a beloved favorite that will have everyone reaching for seconds.
The subtle notes of vanilla and hint of coffee deepen the flavor profile, creating a truly unforgettable dessert experience.
Follow this carefully crafted recipe to create cookies that are gloriously crisp on the outside, irresistibly soft on the inside, and packed with pockets of decadent chocolate that create the ultimate indulgence.
Why You’ll Love This Recipe
- Perfect Texture
- Chocolate Lover’s Bliss
- Surprisingly Simple
- Convenient
Ingredients
| Ingredient | Amount |
|---|---|
| Dark chocolate, chopped | 3½ oz |
| Milk chocolate, chopped | 3½ oz |
| Unsalted butter | 10 tablespoons |
| Light or dark brown sugar, packed | ⅔ cup |
| White granulated sugar | 3 tablespoons |
| Large egg | 1 |
| Egg yolk | 1 |
| All-purpose flour, sifted | 1¼ cups |
| Salt | ½ teaspoon |
| Baking powder | ½ teaspoon |
| Baking soda | ¼ teaspoon |
| Vanilla bean paste | 1 teaspoon |
| Instant coffee | 1 teaspoon (dissolved in 1 teaspoon hot water) |
Optional Add-ons for Creative Variations
| Add-on Option | Suggested Amount |
|---|---|
| Chopped nuts (walnuts, pecans, or almonds) | ½ cup |
| Dried fruit (cranberries or raisins) | ⅓ cup |
| Sea salt flakes for garnish | A light sprinkle on top |
| Caramel chunks | ¼ cup |
Step-by-Step Instructions
1. Transform Your Butter
Place the butter in a light-colored non-stick pan over medium-low heat. Stir continuously as the butter melts and begins to foam. Keep a watchful eye, cooking and stirring until the butter transforms to a beautiful golden brown and releases its intoxicating nutty aroma.
This should take about 5-7 minutes. The milk solids will separate and toast at the bottom of the pan, giving your butter its distinctive flavor. Be vigilant to avoid burning it—the line between perfectly browned and burnt is thin!
2. Create the Flavor Foundation
Lower the heat and incorporate both the brown sugar and white sugar into the aromatic browned butter. Whisk gently for 1-2 minutes until the sugars partially dissolve and the mixture becomes gloriously thick and glossy, resembling caramel. Remove from heat and allow it to cool for about 5 minutes, giving the flavors time to meld together beautifully.
3. Add Moisture and Flavor
Once the mixture has cooled enough to be warm but not hot (so it won’t cook the eggs), whisk in the egg and egg yolk until the mixture becomes smooth and cohesive. Add the aromatic vanilla bean paste and the dissolved instant coffee, which will enhance the chocolate flavor without making the cookies taste like coffee. Whisk for another minute until the mixture achieves a creamy, ribbon-like consistency.
4. Prepare Your Dry Ingredients
In a separate bowl, sift together the flour, salt, baking powder, and baking soda to ensure there are no lumps and to properly aerate the mixture. Add both the chopped dark and milk chocolate to the dry mixture and gently toss to coat each piece. This clever technique helps prevent the chocolate from sinking to the bottom of the cookies.
5. Combine with Care
Gradually add the dry ingredients to the wet mixture in two batches, folding gently with a rubber spatula. Mix until just combined—you should still see some streaks of flour—being careful not to overmix, which would develop the gluten and result in tough cookies instead of tender ones.
6. Shape for Perfect Presentation
Use a 2-tablespoon cookie scoop to portion out uniform dough balls, ensuring even baking. If the dough feels too soft to work with, refrigerate for 10 minutes before shaping. For an extra-special touch, press a few additional chocolate chunks on top of each dough ball—these visible pieces will create beautiful melted pools of chocolate on the surface of your baked cookies.
7. Exercise Patience with Chilling
Place the cookie balls on a plate or baking sheet and refrigerate for at least 2 hours, or ideally overnight. This crucial resting period allows the flavors to develop fully and the flour to hydrate completely. The chilled dough will also spread less during baking, resulting in thicker, chewier cookies with better texture.
8. Prepare for Baking
When ready to bake, preheat your oven to 375°F (190°C) and line a baking sheet with parchment paper for easy release. Arrange the chilled cookie dough balls on the sheet, being sure to space them at least 3 inches apart to allow for spreading during baking.
9. Bake to Golden Perfection
Bake for 11-13 minutes, or until the edges turn a light golden brown while the centers still look slightly underbaked—they’ll continue cooking from residual heat after removal from the oven. For consistent results, consider baking a test cookie first to determine the perfect timing for your specific oven.
10. Add Finishing Touches
For an elevated flavor experience, sprinkle the warm cookies with flaky sea salt immediately after removing from the oven—the salt will adhere to the warm surface and provide delightful bursts of flavor that contrast beautifully with the sweetness. Allow the cookies to cool on the baking sheet for 10-15 minutes (this completes the cooking process and firms them up) before transferring to a wire rack to cool completely. For the ultimate indulgence, enjoy them while still warm, when the chocolate remains gloriously melted.
Storage and Serving Suggestions
Store your precious leftover cookies in an airtight container at room temperature for up to a week, though they’re unlikely to last that long! To maintain freshness, you can place a slice of bread in the container to keep the cookies soft.
For longer storage or to satisfy spontaneous cookie cravings, freeze the shaped cookie dough balls in a single layer until solid, then transfer to a freezer bag. You can bake them directly from the freezer, adding an extra 1-2 minutes to the baking time—a perfect solution for unexpected guests or late-night sweet tooth emergencies.
For an extra-special dessert, sandwich a scoop of vanilla ice cream between two completely cooled cookies for a gourmet ice cream sandwich that will impress anyone.
Tips for Cookie Perfection
- Don’t Rush the Butter Browning. This foundational step is key to achieving the rich, nutty flavor that sets these cookies apart. Use a light-colored pan so you can easily monitor the color changes.
- Respect the Chilling Time. Refrigerating the dough enhances flavor and helps cookies maintain their shape during baking. If you’re in a hurry, a 30-minute freeze can substitute for longer refrigeration.
- Invest in Quality Chocolate. Opt for high-quality chocolate bars and chop them yourself rather than using chips. The irregular chunks create varied pockets of chocolate throughout the cookies, and premium chocolate melts more beautifully.
- Measure with Precision. Use a kitchen scale for weighing ingredients, especially flour. Too much flour results in dry cookies; too little creates flat ones.
- Know Your Oven. Rotate your baking sheet halfway through baking for even browning, and consider using an oven thermometer to verify the temperature.
Creative Variations to Explore
- Nutty Delight. Fold in toasted, chopped walnuts, pecans, or almonds for extra crunch and a complementary flavor that enhances the brown butter.
- Espresso Elevation. Double the amount of instant coffee for a more pronounced coffee undertone that beautifully enhances the chocolate depth without overwhelming the other flavors.
- Salted Caramel Indulgence. Mix in caramel chunks and finish with flaky sea salt for an irresistible sweet and salty combination.
- Warm Spice Infusion. Add a pinch of cinnamon, nutmeg, or cardamom for a warm, spiced flavor profile that’s especially wonderful during fall and winter.
- Orange-Chocolate Twist. Add the zest of one orange to the wet ingredients for a bright citrus note that pairs beautifully with dark chocolate and brown butter.
Nutritional Information
Based on the ingredients in this recipe, here’s the approximate nutritional information per cookie (assuming the recipe makes about 18 cookies):
| Nutrient | Amount per Cookie |
|---|---|
| Calories | 235 calories |
| Total Fat | 12g |
| Saturated Fat | 7g |
| Cholesterol | 35mg |
| Sodium | 115mg |
| Total Carbohydrates | 30g |
| Dietary Fiber | 1g |
| Sugars | 21g |
| Protein | 3g |
Note: This nutritional information is an estimate based on the ingredients listed. Values may vary depending on specific brands used, exact measurements, and portion sizes. The optional add-ins are not included in these calculations.
Final Words
These soft and chewy brown butter chocolate chip cookies represent the perfect marriage of traditional comfort and gourmet innovation. The extra steps and thoughtful techniques elevate this classic treat to a truly memorable dessert experience that will have friends and family raving.
Perfect for holiday cookie exchanges, special occasions, thoughtful homemade gifts, or simply as an elevated everyday indulgence, these cookies are bound to become a treasured recipe in your collection. The combination of nutty brown butter, melty chocolate, and perfect texture creates a cookie that isn’t just eaten, but experienced—a small moment of pure joy in every bite.
Brown Butter Chocolate Chip Cookies

Ingredients
- Dark chocolate, chopped 3½ oz
- Milk chocolate, chopped 3½ oz
- Unsalted butter 10 tablespoons
- Light or dark brown sugar, packed ⅔ cup
- White granulated sugar 3 tablespoons
- Large egg
- Egg yolk
- All-purpose flour, sifted 1¼ cups
- Salt ½ teaspoon
- Baking powder ½ teaspoon
- Baking soda ¼ teaspoon
- Vanilla bean paste 1 teaspoon
- Instant coffee 1 teaspoon (dissolved in 1 teaspoon hot water)
Instructions
Step 1: Brown butter in a light-colored pan over medium-low, stirring until golden and nutty (about 5–7 min). Let cool slightly.
Step 2: Lower heat; whisk in brown and white sugar until thick and glossy, then cool for 5 min.
Step 3: Whisk in egg, egg yolk, vanilla paste, and instant coffee until smooth and creamy.
Step 4: In a separate bowl, sift flour, salt, baking powder, and baking soda; toss in chopped chocolates.
Step 5: Gradually fold dry mix into wet in two batches until just combined; don’t overmix.
Step 6: Scoop 2-tbsp dough balls; press extra chocolate on top. Chill if too soft.
Step 7: Refrigerate dough balls at least 2 hours or overnight for best flavor and texture.
Step 8: Preheat oven to 375°F (190°C), line a baking sheet, and arrange dough balls 3 inches apart.
Step 9: Bake 11–13 min until edges are golden and centers look slightly underdone.
Step 10: Sprinkle warm cookies with flaky sea salt; cool 10–15 min on sheet, then transfer to rack. Enjoy warm.