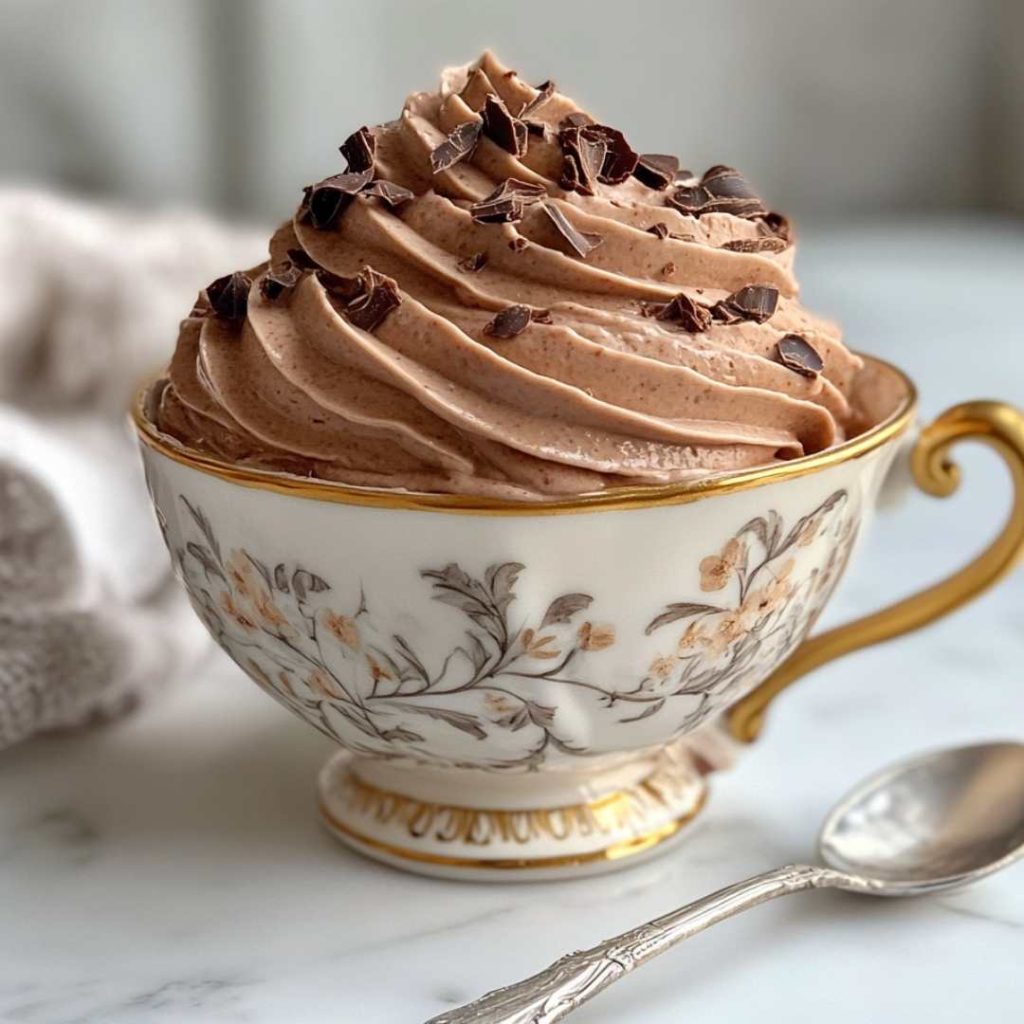
Last Friday, I was scrambling to pull off a last-minute dinner for friends—kids running wild, dog stealing socks—when I realized I had nothing for dessert and zero time to fake being a fancy chef.
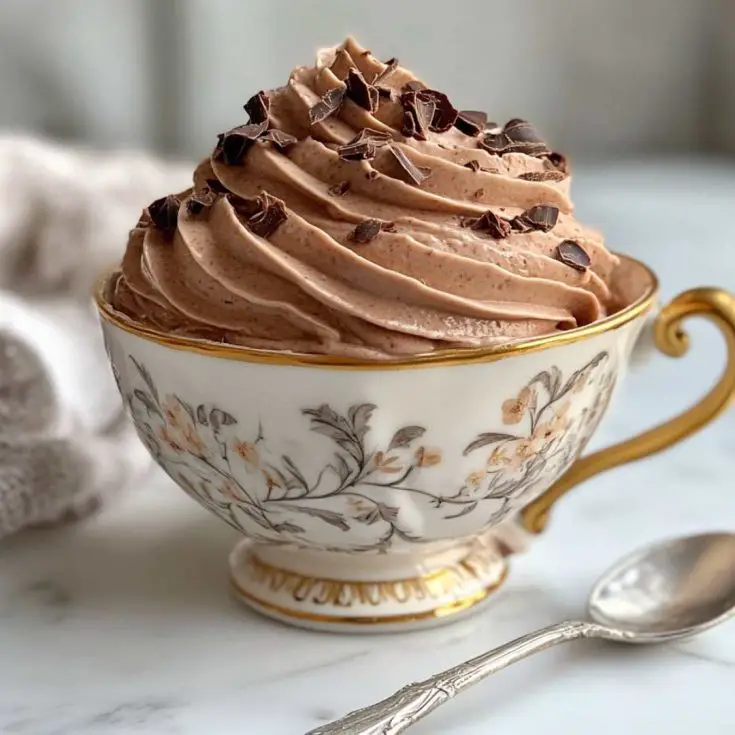
I spotted some cream in the fridge, raided the pantry for cocoa, and this 3-Ingredient Chocolate Mousse saved my night—silky, rich, and so easy I could’ve made it blindfolded.
If you’re after a quick, decadent treat, let’s whip this up!
Why This Chocolate Mousse Rocks
- Velvety chocolate
- Three ingredients
- No baking
- Feels fancy
3-Ingredient Chocolate Mousse Recipe
For this simple yet delicious mousse, you’ll need the following ingredients:
Ingredients
| Ingredient | Amount |
|---|---|
| Cocoa powder | 1/4 cup |
| Heavy whipping cream | 1 1/2 cups |
| Powdered sugar | 1/2 cup |
Tools You’ll Need
- Mixing bowl – Holds the mix while you whip it good.
- Whisk or hand mixer – Turns cream into fluffy magic fast.
- Sifter or fine mesh strainer – Keeps cocoa lump-free and silky.
- Measuring cups and spoons – Gets the ratios just right.
- Spatula – Folds it all together without a mess.
Step-by-Step Instructions for 3-Ingredient Chocolate Mousse

Step 1: Chill the Gear
Pop your mixing bowl and whisk (or mixer beaters) in the fridge for 10 minutes—cold tools help the cream whip faster. Keeps things smooth when you’re short on time.
Step 2: Sift the Cocoa
Grab the 1/4 cup cocoa powder and sift it through a fine mesh strainer into a small bowl—catches any clumps that’d ruin the vibe. Should look like soft, dark dust—set it aside.
Step 3: Whip the Cream
Pour the 1 1/2 cups HEAVY whipping cream into the chilled bowl—whisk or use a hand mixer on medium ‘til soft peaks form, about 2-3 minutes. Looks like fluffy clouds—don’t overdo it yet.
Step 4: Add Sugar
Sprinkle in the 1/2 cup powdered sugar—mix on low or whisk gently ‘til it’s blended and the cream hits stiff peaks, another minute or so. Should hold shape but still be smooth.
Step 5: Fold in Cocoa
Add the sifted cocoa powder to the whipped cream—use a spatula to gently fold it in, turning the bowl as you go. Takes about 30 seconds—aim for even chocolatey color, no streaks.
Step 6: Check the Texture
Give it a quick look—should be thick, creamy, and smooth, no grainy bits. If it’s lumpy, fold a bit more—don’t whip, or it’ll turn to butter, and that’s a sad day.
Step 7: Spoon into Dishes
Scoop the mousse into 4-6 small bowls, cups, or glasses—smooth the tops with the spatula if you’re feeling fancy. Looks rich and ready—almost too good to wait for.
Step 8: Chill and Serve
Cover with plastic wrap and pop ‘em in the fridge—chill for at least 2 hours to set, or overnight if you’re planning ahead. Serve cold—spoon in and savor the silkiness!
Storage and Serving
Store covered in the fridge for up to 3 days—doesn’t freeze well, so eat it fresh. Serve as a solo dessert or with a coffee—perfect for a quick treat or dinner party flex.
Tips for Success
- Use heavy cream—light stuff won’t whip right.
- Sift cocoa—lumps are the enemy of smooth.
- Chill tools first—speeds up the whipping.
- Fold gently—keeps it airy, not dense.
Nutritional Breakdown
| Nutrient | Per Serving (6 servings total) |
|---|---|
| Calories | 280 kcal |
| Fat | 24g |
| Protein | 2g |
| Total Carbs | 16g |
| Fiber | 1g |
| Net Carbs | 15g |
Note: Values are approximate and vary by brands.
Pairing Suggestions
- Serve with espresso for a classy touch.
- Pair with shortbread for a crunchy bite.
- Add a side of whipped cream for extra decadence.
- Enjoy with red wine—fancy dessert vibes.
Common Mistakes to Avoid
I’ve stumbled into these traps before, so here’s how to sidestep them with a bit more detail:
- Skipping the cocoa sifting and ending up with gritty, lumpy mousse – If you dump the cocoa straight in without sifting, those tiny clumps refuse to blend, leaving your mousse speckled with chewy bits that ruin the silky texture; I’ve spooned into a few bowls that felt like chewing sand—sift it, save yourself.
- Overwhipping the cream and turning it into buttery clumps – Pushing past stiff peaks because you think it needs more mixing makes the cream curdle into grainy, heavy globs instead of staying light and fluffy; I’ve had to toss a batch that looked like bad frosting—watch it close.
- Using light cream and getting a runny, sad puddle – Heavy whipping cream is non-negotiable here—lighter creams don’t hold the air needed for that thick, mousse-y lift, and you’ll end up with chocolate soup; I’ve poured out a liquid mess once, thinking I could cheat.
- Not chilling long enough and serving a goopy mess – If you skip the full 2-hour fridge time and dig in early, the mousse won’t set, leaving you with a soft, melty blob that doesn’t hold shape; I’ve scooped too soon and regretted the sloppy bowls—patience pays off.
FAQs
Can I use regular sugar?
It’ll be grainy—stick to powdered for smoothness.
No cocoa powder?
Melted dark chocolate works—use 1/3 cup, mix slow.
Too thick?
Fold gentler next time—overmixing kills the air.
Final Words
There you have it—my 3-Ingredient Chocolate Mousse, the quick-fix dessert that turned a frantic night into a sweet victory. It’s smooth, decadent, and easy enough to pull off while the kids plot their next disaster. Hope it brings some chill to your kitchen—let me know if you give it a whirl. Now grab that cream and get whipping—you’re in for a treat!
3-Ingredient Chocolate Mousse

Ingredients
- Cocoa powder 1/4 cup
- Heavy whipping cream 1 1/2 cups
- Powdered sugar 1/2 cup
Instructions
Step 1: Chill your mixing bowl and whisk (or beaters) in the fridge for 10 minutes.
Step 2: Sift cocoa powder into a bowl to remove clumps; set aside.
Step 3: Whip heavy cream in chilled bowl until soft peaks form, about 2–3 minutes.
Step 4: Add powdered sugar and whip to stiff peaks, about 1 more minute.
Step 5: Gently fold in cocoa powder with a spatula until evenly combined.
Step 6: Check texture—it should be smooth and creamy with no lumps.
Step 7: Spoon mousse into 4–6 bowls or glasses and smooth the tops.
Step 8: Cover and chill for at least 2 hours before serving cold.

Can you use a non dairy whipping cream?