No-Bake Pumpkin Pie Cups are the perfect way to enjoy the warm, spiced flavors of fall without the fuss of baking a traditional pie. These individual-sized treats are not only visually appealing but also simple to make.
These pumpkin cups are great for holiday gatherings, family dinners, or a cozy autumn evening. With a crunchy graham cracker crust, creamy pumpkin filling, and a dollop of whipped cream on top, they capture the essence of pumpkin pie in a fun, portable format.
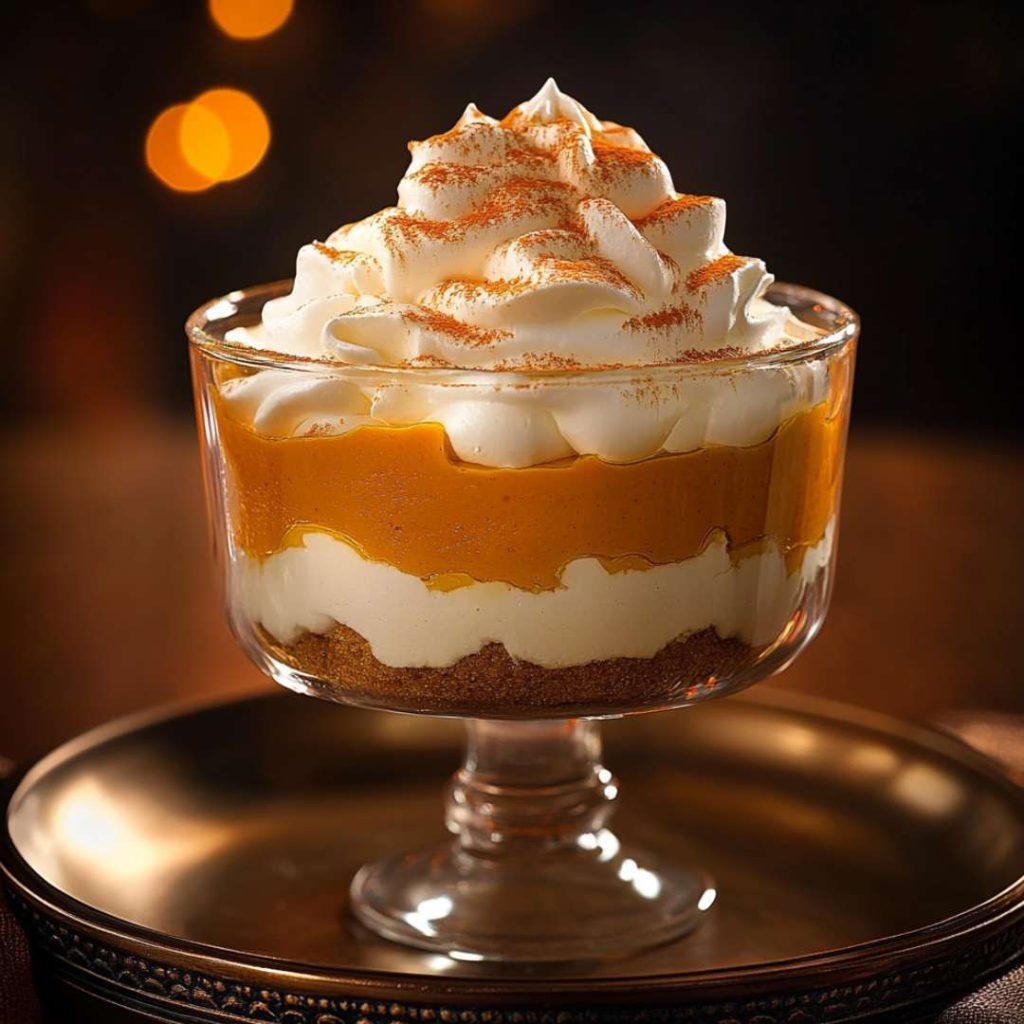
No-Bake Pumpkin Pie Cups
For this delicious recipe, you’ll need the following ingredients:
For the Crust:
- Graham cracker crumbs (2 cups): Provide a sturdy, slightly sweet base with a classic crunch. Use ginger snaps or digestive cookies for a spicier or milder twist.
- Melted butter (4-5 tablespoons): Binds the crumbs together and adds rich, buttery flavor.
For the Pumpkin Pie Filling:
- Unflavored gelatin (1 package): Ensures the filling sets properly without the need for baking.
- Ground cinnamon (1 ½ teaspoon): Adds the quintessential warm, earthy spice of pumpkin pie.
- Ground ginger (½ teaspoon): Contributes a subtle, zesty kick to balance the sweetness.
- Ground nutmeg (½ teaspoon): Delivers a nutty, aromatic warmth to the filling.
- Heavy cream (1 ⅓ cup): Adds creaminess and richness to the filling for a smooth texture.
- Sugar (1/7 cup): Sweetens the filling just enough to complement the spices and pumpkin.
- Eggs (2 medium): Help bind and enrich the filling, creating a silky texture.
- Canned pumpkin puree (15 ounces): The star ingredient that delivers authentic pumpkin flavor and vibrant color.
- Salt to taste: Enhances the flavor and balances the spices.
For Topping:
- Whipped cream: Adds a light, creamy topping that complements the spiced filling.
Optional Add-Ons
- Chopped pecans: Sprinkle on top for added crunch and a nutty contrast.
- Caramel drizzle: Adds an indulgent sweetness to each cup.
- Crushed ginger snaps: Use as an additional topping for more spice and texture.
- Pumpkin seeds: Toasted seeds make for a decorative and flavorful garnish.
Step-by-Step Instructions for No-Bake Pumpkin Pie Cups
Step 1. Prepare the Crust
In a medium mixing bowl, combine the graham cracker crumbs and melted butter. Stir until the mixture looks like damp sand and holds together when pressed.
Step 2. Press and Chill the Crust
Evenly divide the mixture among individual serving cups or ramekins. Use the back of a spoon or your fingers to firmly press the crumbs into the bottom to create a solid crust layer. Place the cups in the refrigerator to chill while you prepare the filling.
Step 3. Bloom the Gelatin
In a small saucepan, sprinkle gelatin over ¼ cup of cold water and let it sit for about 5 minutes to allow it to bloom. This process helps the gelatin dissolve smoothly into the filling.
Step 4. Mix the Spices
In a separate mixing bowl, whisk together cinnamon, ginger, nutmeg, and salt, then set aside.
Step 5. Heat the Pumpkin Pie Filling
In a saucepan over low heat, add the heavy cream, sugar, and eggs. Stir constantly to prevent the eggs from scrambling. After about 3-4 minutes, add the bloomed gelatin and spice mixture to the saucepan.
Step 6. Thicken and Cool the Filling
Continue stirring for another 6-7 minutes until the gelatin fully dissolves and the mixture thickens slightly. Remove from heat and let it cool for a couple of minutes before assembling.
Step 7. Assemble the Cups
Take the chilled crusts out of the refrigerator. Evenly pour the pumpkin pie filling over each crust, filling the cups almost to the top.
Step 8. Smooth and Set the Filling
Use a spatula or the back of a spoon to smooth out the surface for a neat finish. Place the cups back into the refrigerator and let them set for at least 2 hours, or until the filling is firm.
Step 9. Add the Finishing Touches
Right before serving, top each cup with a dollop of whipped cream for a creamy contrast.
Step 10. Garnish and Serve
For an extra festive touch, lightly sprinkle cinnamon over the whipped cream. Serve chilled and enjoy your delicious no-bake pumpkin pie cups!
Storage and Serving
- Storage: Store the assembled pumpkin pie cups in the refrigerator for up to 3 days. Cover them with plastic wrap or place them in an airtight container to keep them fresh.
- Serving: Serve chilled directly from the refrigerator. These cups are perfect as a make-ahead dessert for entertaining, ensuring you have one less thing to worry about on the big day.
Tips for Success
- Drain the pumpkin puree if needed: If your pumpkin puree seems watery, strain it using a cheesecloth or a fine-mesh sieve to avoid a runny filling.
- Chill the crust thoroughly: Ensure the crust is well chilled before adding the filling to prevent the layers from mixing.
- Use freshly whipped cream: For the best flavor and texture, whip the cream just before serving. Alternatively, stabilize the whipped cream with a small amount of powdered sugar if making ahead.
- Avoid overmixing: When combining the warm cream with the pumpkin mixture, whisk gently to avoid introducing too much air, which can affect the texture.
Variations
- Vegan Version: Use a vegan gelatin substitute, plant-based heavy cream, and a dairy-free butter alternative for the crust. Replace the whipped cream with coconut whipped cream.
- Spiced Crust: Add a teaspoon of cinnamon or pumpkin pie spice to the graham cracker crumbs for a spiced crust.
- Nut-Free: Skip the optional nut toppings and use nut-free cookies for the crust if serving someone with allergies.
- Layered Presentation: Alternate layers of crust, filling, and whipped cream for a parfait-style dessert.
- Chocolate Lover’s Twist: Drizzle melted chocolate over the top for a decadent finish.
In Conclusion
No-Bake Pumpkin Pie Cups are a delightful twist on the traditional pumpkin pie, offering all the flavors of the classic dessert in a convenient, individual-serving format. With their creamy filling, crunchy crust, and customizable toppings, these cups are as versatile as they are delicious.
Perfect for fall gatherings, holiday parties, or an elegant treat, they’re sure to impress your guests and satisfy your sweet tooth. Give them a try and enjoy the cozy flavors of autumn in every spoonful!