You know that 3 PM slump when you’re staring at your computer screen, debating whether you need another cup of coffee or just something sweet to get you through the day?
Well, what if I told you there’s a dessert that gives you both (and takes exactly 5 minutes to whip up)?
Last week, I was craving something indulgent but couldn’t be bothered with a complicated recipe (because honestly, who has time for tempering chocolate or waiting for custard to set?).
That’s when this ridiculously simple coffee mousse saved my afternoon – and probably my sanity.
Why You’ll Love This Recipe
- Creamy
- Easy
- 5-Min Prep
- No-Bake
4-Ingredient Coffee Mousse Recipe
| Ingredient | Amount |
| Heavy cream | 1 cup |
| Cream cheese (softened) | 1 cup |
| Powdered sugar | 1 & 2/3 cups |
| Instant coffee granules | 2 tablespoons |
Pro tip: Make sure your cream cheese is actually soft—nobody wants lumpy mousse because you got impatient with the microwave.
Step-by-Step Instructions
1. Create Your Cloud Base
Grab your stand mixer (or hand mixer if you’re feeling the arm workout) and whip that heavy cream until it forms stiff peaks. You’ll know you’re there when you can flip the bowl upside down and nothing falls out (though maybe don’t test this over your clean counter). Transfer this fluffy goodness to a separate bowl and set aside.
2. Build the Coffee Foundation
Toss the softened cream cheese into your mixer bowl and beat until it’s smooth and creamy. Add the powdered sugar and mix until everything looks light and fluffy, like a sweet cloud. Now comes the coffee magic: mix in those instant coffee granules until they’re fully incorporated. The mixture should smell like your favorite coffee shop.
3. Marry the Textures
Here’s where patience pays off. Add about one-third of your whipped cream to the coffee mixture and gently fold it in. This lightens the base and makes the final folding step much easier. Don’t worry if it looks a little streaky—we’re not going for perfection yet.
4. The Final Fold
Slowly and gently fold in the remaining whipped cream using a spatula. Use a motion like you’re giving the mixture a gentle hug—no aggressive stirring here. You want to keep all that airy texture you worked so hard to create. Stop when you can’t see any more white streaks.
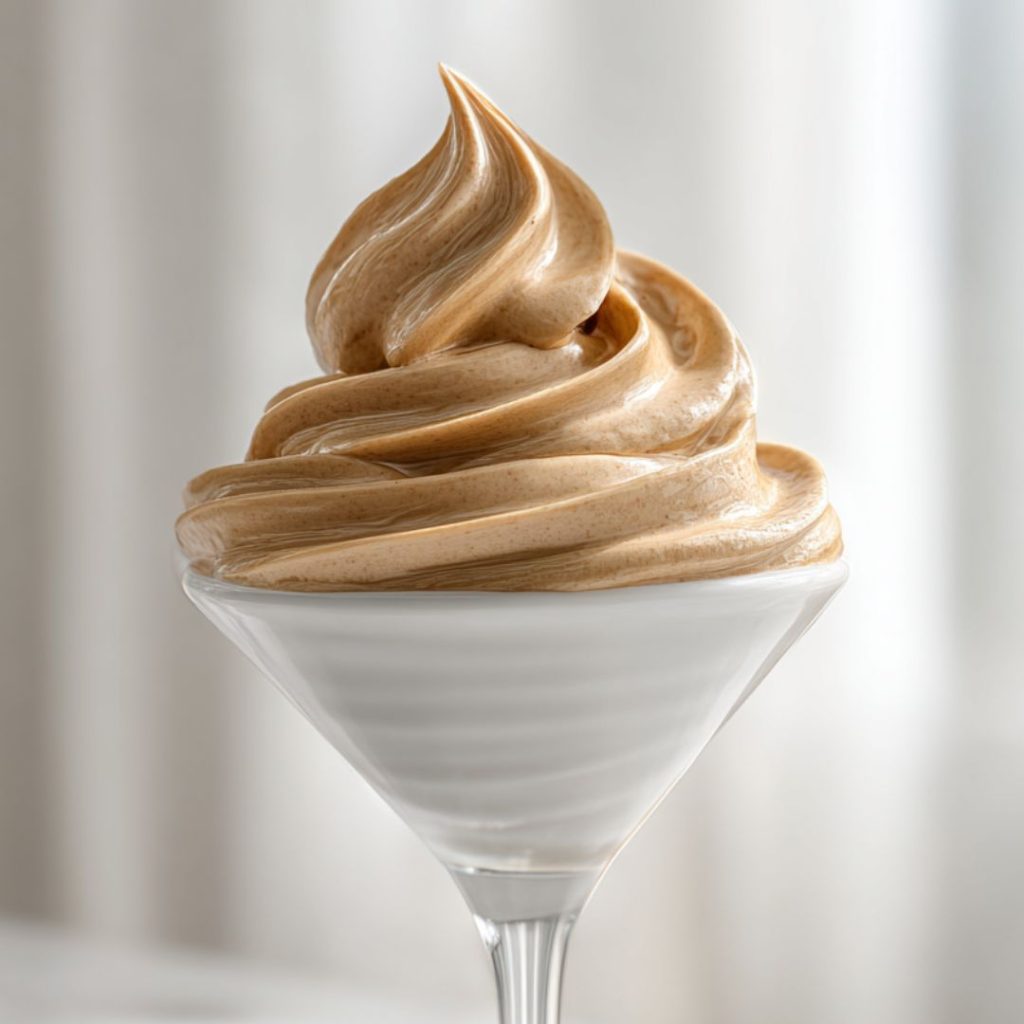
5. Serve It Up
Spoon the mousse into small serving bowls, or if you’re feeling fancy, pipe it using a large pastry bag with a star tip. I like to make little rosettes because they look impressive and take zero skill. Top with whatever makes you happy: chocolate-covered coffee beans, a dusting of cocoa powder, or even a few crushed biscotti.
Tips, Variations & Customizations
- Add a pinch of cinnamon to the coffee for a cozy café au lait flavor.
- Mix in 1 tablespoon of cocoa powder for a mocha twist.
- For less sweetness, reduce powdered sugar to ¼ cup (the cream cheese adds natural richness).
- For an adult version, stir in 1 tablespoon of coffee liqueur with the instant coffee.
- Chill for at least 1 hour before serving—this enhances the flavor and texture.
- If still too sweet, try lowering the powdered sugar to 1 ¼ cups next time.
Nutritional Breakdown (Per Serving – Makes 4 Servings)
| Nutrient | Amount |
| Calories | 285 |
| Fat | 26g |
| Carbohydrates | 11g |
| Protein | 4g |
| Caffeine | ~15mg |
Serving Suggestions
- Layer in mason jars with crushed graham crackers for a coffee tiramisu vibe
- Pipe into mini tart shells for elegant dinner party desserts
- Top with whipped cream and serve alongside warm brownies
- Use as a filling for cream puffs or éclairs
- Enjoy straight from the bowl with a spoon (no judgment here)
- Freeze for 30 minutes for a semi-frozen treat on hot days
Conclusion
This mousse is proof that the best desserts don’t need a grocery list longer than your arm or three hours of prep time. It’s rich without being heavy, caffeinated without being jittery, and impressive without being stressful.
Make a batch tonight, I guarantee tomorrow-you will be thanking today-you when you open the fridge and find these little cups of happiness waiting for you. Plus, you’ll have officially mastered the art of looking like a dessert wizard with minimal effort, and isn’t that what we all secretly want?